Wednesday 6 October 2021

French Generals - Marshal Murat, 28mm

Making an entrance, here is the flamboyant Marshal Joachim Murat - King of Naples, Grand Duke of Berg, Grand Admiral of the French Empire, Prince of France, and "First Horseman in Europe". Known for his bravery and dashing cavalry charges, as well as attention to his appearance and ostentatious uniforms.

He is accompanied by two Old Guard Kettle Drummers, in photo on the left from the Polish Lancers, and on the right from the Mamelukes. Though I imagine he is unable to hear the drums over his thoughts of how fabulous he is looking today...


The figures are all by Gringo 40's. The two Kettledrummers are over the top companions I thought would complement Murat's personality and make him stand out even more on the table. Here they are cleaned up and assembled ready for painting.

The uniform in the sculpt is clearly based on this painting of Murat by Antoine-Jean Gros in 1811.


Here is another painting of him in 1806 at Eylau, leading one of ever so many cavalry charges.


Murat had humble origins, starting to train as a priest as his family wished, before running off to join the 12th Chasseurs. He was forced to resign and work as a clerk temporarily due to an affair, before returning to become a bold and brave cavalry general and rising to the legendary heights of leadership and other titles mentioned at the start of this post. See here for a brief colourful history of Murat.

I have a biography of Murat on Kindle I have yet to read, but this miniature piece is one I have long planned so happy to have it finished. :)

Wednesday 15 September 2021

Terrain - Renedra Castle

Blog has been a bit quiet, but I have not. Amongst other things I've painted up this rather large castle set. It is from Renedra and is their "Small Castle"(!) set. Small compared to their larger castle sets perhaps but quite large enough for me! I've added two ruined wall sections and another tower for some options.


I painted it quickly with only three shades of grey and drybrushing, and could be improved with some green brown washes to weather it no doubt. But good enough for wargaming for me.

The wall and tower sections are modular and can be fitted together to make different setups.

I did not buy this castle specifically for Napoleonics (and especially not the siege equipment below!) but it may well see some use for Napoleonics as there were many sieges or assaults on forts or walled cities during the Napoleonic period.


The siege equipment incidentally is from Ironheart Artisans Kings of War range.

Modern military forts for the Napoleonic time period were like this Star Fort below, which were considerably more effective at withstanding assault than the much earlier sort of castle this kit represents. However, star forts were very expensive to construct, and in many situations these older castles or city walls were still present and provided some protection. Blowing a hole in the wall of these older structures with cannon and then assaulting was a not uncommon tactic. For Napoleonic wargaming purposes, I may use this castle to represent sections of either city walls, castles, or perhaps even star forts with a bit of creative license and imagination!


For inspiration here are some pictures of Napoleonic Siege Warfare.


Siege of Badajoz.


An amazing 1/56th siege diorama of Siege of Badajoz, see some more pics here.


Siege of Zaragoza.


Siege of Burgos


Siege of San Sebastian


And not sure what this is,but some Prussians assaulting a high walled structure of some sort!


One detail I changed with this kit was the wall sections. As they come they give you about 4cm depth atop the wall, but I wanted to make it about 7.5cm so it can hold my artillery bases and larger units in other systems. I did this by doubling up the wall section dividers you get as below.


And adding a strip of black plasticard to expand the wall section as follows.

And some sprue for support given I removed the supports from the centre of the wall section.

Some ballast/sand across the top. I was going to do stonework, but stonework plasticard I ordered turned out to be too small and I was impatient to get it done!


And for the ruined wall section I did a similar process, adding some cork and greenstuff as below.


And ballast/sand again.

And again below how these wall sections look when painted.


And lastly the entire castle including siege towers above, JUST fits into a 60 litre container for storage and transport :) 

321 Fast Play Napoleonic Rules - Version 5.1 update

A year ago I did a fairly major update to the 321 Fast Play Napoleonic Rules rules, that included simplifying the charge procedure to speed play, and balancing units with regard to quality.

A few issues have come up since that time relating to this change in charge procedure, and one more important one. The important issue has resulted in a tweak to reduce the power of artillery charged frontally, and to increase fragility of lines that fail to repel a charge, though charging these targets is still a risky venture.  This is a difficult interaction to balance - too difficult and people never attempt it, not difficult enough and it becomes a tactic of choice! Artillery also loses the ability to reposition its firing arc quite rapidly. There are also a number of minor changes to tournament game balance.

As always, rules can be found here:


Below I have listed the changes to rules from version 5.0 to 5.1.
There are also some minor changes to wording in places to improve clarity but not alter meaning.

Changes from Version 5.0 to 5.1 (March 2021)


Page 1 Break Tests: Deleted break tests being caused by lost generals. This seems to be a rule I had carried over by wargaming tradition rather than good evidence, so it is gone.  Sam Mustafa notes he can't find any examples of lost Generals causing units to run, despite the high frequency of generals being lost in Napoleonic warfare. This prompted me to reflect on the point and I can't think of any instance of this either, despite Napoleonics being an era where Officers had a higher casualty rate than other ranks (though they did also tend to have better medical care, so were more likely to survive if wounded). Note a lost general still causes his Division to be hesitant in the following turn due to the disruption as he is replaced or recovers, it being assumed that command significant staff loss (perhaps including aides) has a temporay negative effect on command control.

Page 1 Broken Divisions: "A Division that has lost over half of its non-skirmisher units is broken."
Note: Lost skirmishers are ignored when judging breakpoint of a Division. Suffice to say that local players prefer entirely "expendable" skirmish screens as opposed to the General D'Armee style where they influence morale.

Page 2 Movement "Unlimbered artillery may not change facing by more than 45 degrees."
Note: Even given the timescale of a turn (30-60 minutes),the ability of artillery to reposition it's firing arc, and swing around like a modern point defence weapon and fire (for example against a cavalry breakthrough) has been too great in terms of game effect. This change represents the inherent difficulties of reacting to breakthroughs with a deployed Napoleonic battery (which would also have an extensive train of limbers and caissons behind it).

Page 3 Charges: Deleted this line: "Artillery with infantry within a base width cannot be charged if the infantry can be charged instead."
Note: This rule was introduced about version 3 as many other rules I was testing include something similar, and it seemed reasonable - the idea being that artillery crew use infantry formations as a refuge and return to man the guns. However, General D'Armee deliberately does not have this provision, the author noting that he cannot find good evidence of it being widespread in any sense. The main examples people tend to be familiar with are some anecdotes from Waterloo - but even there this quote raises questions about the frequency of this practice:
"In 1872, some 50 years after the battle, upon the publication of the Duke’s Supplementary Letters and Dispatches, the old wounds reopened and debate raged once again for in the publication appeared a letter from Wellington to the Master General of the Ordnance, Lord Mulgrave, dated 21st December, 1815, in which he wrote ‘that to tell you the truth, I was not very pleased with the Artillery at the battle of Waterloo’. He went on to justify his statement by recounting that the artillery, instead of taking shelter in the squares during the French cavalry charges, ran off the field, taking with them their limbers and ammunition carts, thereby denying his artillery support to engage the cavalry when they retreated. They also fired upon the French artillery which he had expressly forbidden."

Page 3 Retreat: "Chargers whose last target retreats follow 6” to a full move, and may declare a charge against a valid target (see above), or stop 1-2” before contact." Note: Clarification allowing an advance and force back of enemy skirmishers without having to charge on into other enemy.

Page 4 Melee, Rolling to Hit: "If infantry/artillery charged frontally, or if charging on, reroll one miss, or all misses if a charged infantry line."
Note: The tweak referred to above - artillery getting just one reroll rather than all dice. This is probably the most important change to the core rules in this update. Also units charging on get one reroll to help represent the shock and surprise factor of this event.

Page 4 Melee, Rolling to Disorder: "Infantry: -1 if attacking cavalry, or charging obstacle; -1 if march column"
Note: No -1 for square modifier anymore, but as below squares always break if beaten by infantry now.

Page 4: Losing Melee: "Losing artillery, and squares losing to infantry, always break. If losing but not broken, cavalry losing to cavalry, and infantry unless charging a garrison, must pass a morale test or break. Losing infantry tests at -2 if charged in line, or by cavalry unless in square. Losing squares test at +1 against cavalry and reroll failures."
Note: Squares automatically break if they lose to infantry. Infantry assaulting a town that don't break in the assault itself, just retreat, as it is assumed the garrison will not be in a position to pursue them (this was situation was a bit harsh otherwise). Lines failing to withstand a charge will probably break.

Page 4 Drawn Melee: "Otherwise, or if a second such draw, the charger loses as above, but does not take a morale test."
Note: Slight modification to account for artillery changes above.

Page 4 Winning Melee: "Winning infantry halt if a defending garrison, square or versus cavalry, or otherwise may occupy a vacated opponent’s position, halt, or charge on 6+D6”."
Note: Garrisons or squares that have been charged can't charge on after the enemy(!). An omission corrected.

Page 4 Winning Melee: "When charging on, defender’s reactions are as for a first charge, but they fight melee as if after a draw."
Note: Clarification that lances and obstacles don't help defender in a charging on situation.

Page 5: Cossacks: "Raw Light Cavalry. Cannot charge front of non-skirmishers except Light Cavalry and must retreat 18+D6” from these if charged (see ‘retreat’, page 3), unless enemy will be contacted on two or more facings."
Note: Cossacks can charge or countercharge front of any enemy provided this enemy is also fighting on another facing.

Page 5: Russian Line Infantry Division: Change to add 1-2 Light Infantry, plus Recruit grade option
Note: Better reflects later period organisation.

Page 5: Russian Guard Division: Gains option for 0-2 Veteran Lights
Note: Adds Russian Guard Jager option

Page 5: Recruits "Count as regular (morale 3) but as raw (morale 2) if half or more of unit bases are disordered."
Note: Simply ties the demoralisation effect to unit size rather than the "after two bases" it was previously.

Page 5 Small Units: "Not counting artillery or Sappers, up to one unit per 500 points may be small (two bases)."
Note: A change to remove the presence of as many small understrength units in tournament games.

Page 6 Battle: "Add +1 for each Light Cavalry Division which contains at least two units which are not small or raw."
Notes: Poor quality light cavalry does not add to pre-battle advantage chance.

Page 6 Battle:

(1-2) Set BattleArmies arrive too late in the day for battle, and deploy ready for the morning.

Starting with Defender, players select Divisions totaling up to a third of their units to start in reserve.

(3-4) Encounter Battle: Main bodies meet and begin battle, bringing up reinforcements.

Starting with Defender, players select Divisions totaling at least one third of their units to start in reserve. 

(5-6) Escalating Battle: Advance guards clash over a vital position and call for reinforcements

Starting with Defender, players select Divisions totaling at least two thirds of their units to start in reserve.

Note: A change to scenario format so it depends on number of units rather than number of Divisions, to prevent too much min-maxing with Division sizes in tournament games.

Page 6 Rain: "During a downpour... cavalry inflicts disorder hits on a roll of 5+ against squares"
Note: A slight boost to cavalry during rain. One of those rules that doesn't tend to get used much.

Page 6 Victory Objectives: "Place one 2” square objective base per 500 points. Starting with the "Defender, players take turns placing objectives within 18” of the opponent’s rear table edge and not within 18” of a short table edge. Turn five and each turn thereafter, if you have a unit within 2” of an objective you placed, at both the start and end of your turn, and no enemy within 2” of it at the end of your turn, you win the game."
Note: Objectives scale to size of game, and you need to hold an objective at the end of your turn, that you were within range of at the start of your turn. Makes taking objectives more feasible in larger games.

Page 6 Attrition Victory: "You also immediately win the game if one third of total enemy units are lost, excluding lost skirmishers.
Note: Skirmishers are expendable in tournament games, though still count towards army size.

Page 6 Reserves: "...a player may try to activate a reserve Division per 1000 points..." and "Immediately before arrival, enemy units within 12” directly in front of the entry edge area, "
Note: Ties reserve availability to size of game, you get more in larger games. Second point means that troops must be close to entry area rather than the entire table edge.

Page 6 Flank Marches: "...a command test at -3, or -2 if it is a Light Cavalry Division, or -1 if all Cossacks, to arrive."
Note: Cossacks gain bonus to flank marching.

Lastly...

One other rule I toyed with is to make cavalry breakthroughs more deadly, as they are in General d'Armee. My group is hesitant about this, but if anyone wants to try it, I recommend the following "hat trick" style cavalry rule, which makes it possible to run down three units in a turn!

Replace this:
Page 4 Winning Melee: "When charging on, defender’s reactions are as for a first charge, but they fight melee as if after a draw. Units charging on winning melee again may only halt or occupy a position if infantry, or halt or retreat 12” if cavalry."

With this:
Page 4 Winning Melee: "When charging on, defenders stand as a reaction, and fight melee as if after a draw. Units charging on winning melee again halt or occupy a position if infantry, or charge on 12" (once only), halt or retreat 12” if cavalry."

Wednesday 23 June 2021

Battlereport: British Cavalry vs Baden/Bavarian, & Rules Musings

I've been playing a series of small Napoleonic games over recent weeks, testing out some rule concepts on a smaller 6x4' table. Here's a report on a somewhat unusual game today. We had a British force that was entirely cavalry (and horse artillery) facing a combined arms Baden and Bavarian force.

So here's a look at the forces, the game, and then some musings on the rules.


Forces

My Baden/Bavarian force consisted of two recruit grade line infantry brigades, and a better quality cavalry brigade. (Recruits start off enthusiastically enough but lose this enthusiasm quickly once the bullets start flying!).

Matt's 500 point British consisted of three cavalry brigades with mostly veteran cavalry, though the horse artillery was regular (Matt ran out of points to make more units veteran!).

Just for reference too, command levels for generals gives the chance of a Brigade holding (being unable to advance) each turn. This starts at 25% chance for a level 1, and reduces by 5% with each additional level. An Army Commander can reduce this further.


Baden/Bavarian Force: Army Commander Lvl 3 and 16 units (breakpoint of 1/3 = 6 units)
  • Baden Brigade (General Lvl 2): 4 Recruit Line, 1 Recruit Skirmisher, 1 Recruit Foot Artillery
  • Baden Brigade (General Lvl 2): 4 Recruit Line, 1 Recruit Skirmisher, 1 Recruit Foot Artillery
  • Cavalry Brigade (General Lvl 4): 2 Veteran Light Cavalry, 2 Light Cavalry

British Force: Army Commander Lvl 1 and 10 units (breakpoint of 1/3 = 4 units)
  • Light Cavalry (General Lvl 2): 1 Veteran Light Cavalry, 1 Light Cavalry, 1 Horse Artillery
  • Light Cavalry (General Lvl 2): 1 Veteran Light Cavalry, 1 Light Cavalry, 1 Horse Artillery
  • Heavy Cavalry (General Lvl 2): 3 Veteran Dragoons, 1 Horse Artillery

The Game

Below we see the situation a couple of turns into the game, with much action happening already.  My Germans have made a cautious advance, except for a Baden Infantry regiment which has advanced in line and been caught in this formation by Light Cavalry.  Other British Cavalry keeps up some regular feints and charges, with other infantry forming square to repel them. Just off camera to my right are my two Veteran Light Cavalry.

A large wood and hill dominate the centre of the table. Over on the left flank, it is far more open. My skirmishers make use of the wood throughout the game to snipe rather ineffectually at any cavalry nearby. My Bavarian artillery bottom left inflicts a casualty or two but is then disordered by the British Horse Battery opposite, and overrrun by British Light Cavalry.

The disordered Badener's caught in line (dark blue flag on right) fire a fortuitously timed volley which sees the British Light Cavalry retreating back. Some unexpected good fortune!

Bavarian squares see off other cavalry, which retires.

Bavarian and Baden attack columns press forward.  Some of them are forced into square by cavalry, and a Baden infantry unit breaks under artillery fire. The Baden General reforms another disordered line infantry regiment.

I commit Chevauleger and they break a British Light Cavalry unit, but annoyingly fail to restrain themselves, and pursue into fresh cavalry. This in turn sends them fleeing back in much disorder. The victorius British cavalry follows and sabres my Baden artillery in the confusion before retiring spent.

To add insult to this loss, a Baden square then breaks to a cavalry charge! Getting close to a dozen charges by this point, so my recruits have held up pretty well so far I guess....  The British cavalry breaking my square pursues (compulsory for British cavalry in rules used), into more fresh Chevauleger and are broken in turn though, so it's a fair trade!

With my infantry attack hard pressed, I throw forward my own veteran cavalry. The Bavarian Dragoons (here treated as Veteran Light Cavalry - they did became Chevauleger after 1810 afterall!), inflict heavy casualties but ultimately break against Veteran British Light Cavalry -  which in turn smashes into the flank of the Baden Light Dragoons (also Veteran here) who are busy fighting Veteran British Dragoons. The Baden Light Dragoons take heavy losses and fall back in maximum disorder. The British Cavalry charge on into my infantry forcing them into square, and then retiring.

Below, about turn six and both forces are pretty shattered. I've lost both my artillery units, most of my cavalry is exhausted, as is my Baden infantry and the British Cavalry. The British still have all their artillery intact though, so my shaky units will break under this fire very shortly if I just hold back... and we are both only a single unit off breaking.

I decide to throw my freshest Chevauleger at a disordered British Battery, but British Dragoons intercept (top right in photo below). This is expected and I'm at a disadvantage but things are desperate so I have to try something! Goddess fortune frowns on the challenge to the law of averages though, and my Chevauleger break before the Dragoon attack. Then both a Baden and a Bavarian infantry regiment break under artillery fire (both still stuck in square due to all the British Cavalry!).

End of the game. The British have lost three cavalry units. I've lost two cavalry units, four infantry units, both my artillery units, and skirmisher unit (though the skirmishers are ignored for victory purposes). Ouch! Having said that the game was actually very close and could have been a victory either way, or a draw.

Rules Musings

This game was done in two hours including the setup and packing up. I lost count of the cavalry charges, but many of them were cavalry becoming fatigued against infantry squares. There was also one failed charge against a line, one square broken, and over half a dozen more decisive combats between the opposing cavalry forces, plus of course my two artillery batteries were sabred by cavalry.

These games have been played using the 321 Fast Play Napoleonic Rules on this site, with revisions. The major rule change we've been testing in these games, is using D20's rather than D6's....

I acknowledge D20's may seem like an odd choice!  However, it resulted from frustrations with the limitations of D6's when trying to preserve both subtle distinctions and flavour, but also fast play. I'll repeat here what I said in The Napoleonic Wargamer Facebook group about the  rationale behind using D20's to help meet these objectives:


Reasoning for trialing D20's.

  1. The probability distributions with D6 are coarse (0.17, 0.33, 0.5, 0.67, 0.83), and modifiers have relatively huge effect, so it is hard to introduce more subtle variation in combat odds.
  2. To get around the limitations of D6’s, systems then typically introduce multiple "special rules” to increase the range of possible results (e.g. to hit and to disorder rolls, or extra saves, reroll abilities, multiple dice against a chart, and so on). For example see Black Powder or General D'Armee. But this then adds more complexity and/or dice rolling and slows the game down.
  3. In contrast D20 range allows more subtle variation with a single die roll that would take two or more D6 rolls to replicate, or some conditional checks. It is of course still important not to have thousands of modifiers or complex charts which would slow play by being dull and fatiguing to work through, but I believe there may be some good ways around this. 


Reasons against using D20’s:

  1. Not as many people have D20’s or are familiar with them. However I would note they are easily available via a google search, and if you only need a small number also cheaper than lots of D6’s. Plus electronic apps are good too (e.g. rolladie.net works great on a mobile phone). 
  2. Law of large numbers – if you have more die rolls you get an increased probability of normal distribution. However, for this to really count, you need buckets of dice per unit like Warhammer (which is also slow), and few if any Napoleonic games choose to do this. Instead you typically have a small number of dice needing 4-6’s to hit (for example), or opposed rolls, or 2D6 on a chart.
  3. Some people have a perception that D20's are prone to luck (or "swing") than D6's. As several commentators observed though, this is not correct, D20’s are no more inherently swingy than a D6, but rather it depends what the mechanism is. So a dichotomous hit/not hit result is no more swingy on a D20 than a D6, you just get greater finesse as to the odds of the occurrence, (.e.g possibility of 5% steps rather than 17% steps). Of course if you are using opposed D20 rolls plus small modifiers you would have much more swing - but I'm not sure why you would do that if that is also what you are trying to avoid!


For these test games then, four D20's have been used by each player.  Using these instead of D6's has effectively halved the number of dice rolls needed. This means fewer physical and mental actions, and  less cognitive fatigue from repeatedly processing masses of dice throws. This is excellent if you want to play monster battles in a reasonable time frame... as I do. Aspern Essling, and a bunch of 1813 scenarios are on the cards.

Anyway I will keep testing, and likely put up a new version of this soonish for any interested.


Other News


In other Napoleonic rules news, I see David Brown, the author of General D'Armee is discussing ideas for a GDA2. See this thread for more on this. I find it interesting that he is considering merging charges and melee as I did for my own quickplay rules, and as Bataille Empire does. Plus he is considering using the skirmisher fire mechanic instead of charts, as I wished for in my rules review of GDA, and he wants to improve the command system. This all sounds positive to me and should lead to some faster play and simpler systems I imagine. Also Lasalle 2 has been released, I hear it has fixed some problematic issues in Lasalle 1 and many people seem to be enjoying it from what I can see on the web.

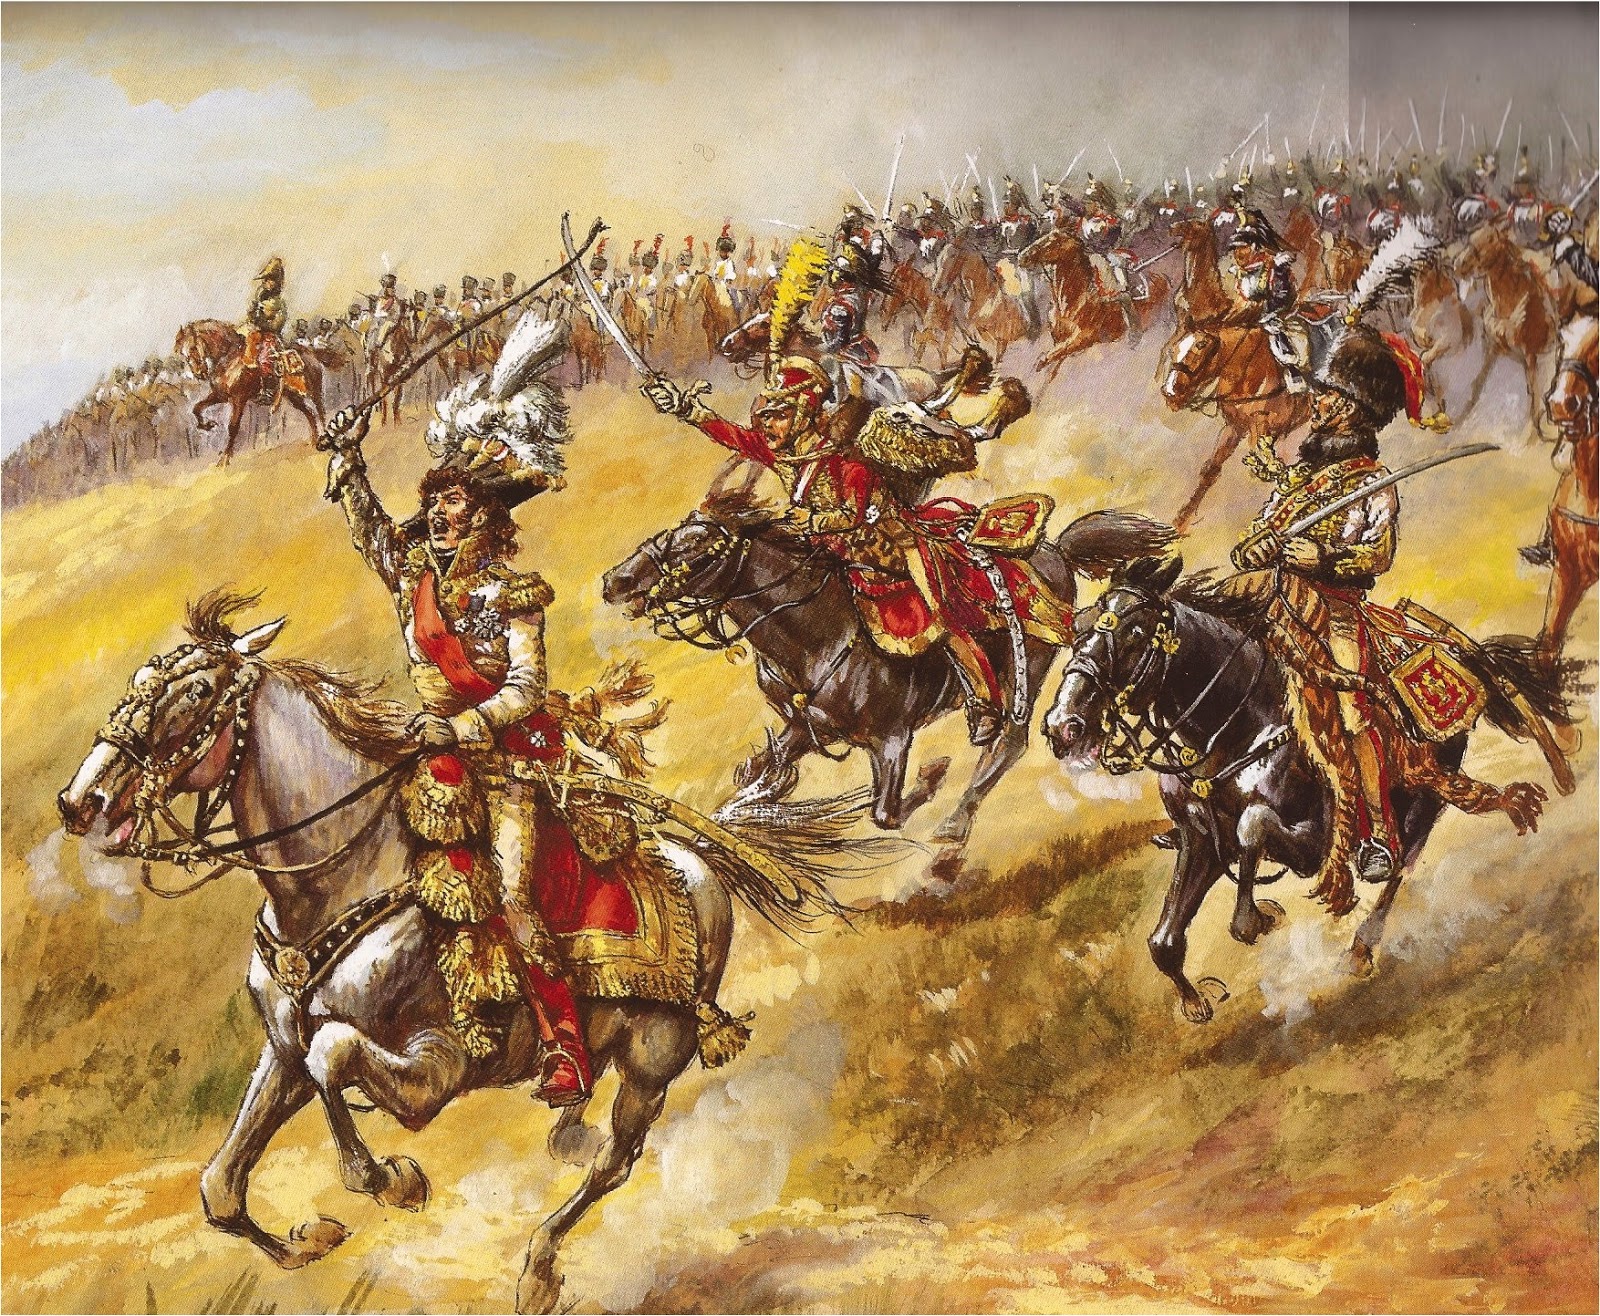
Lastly, on the painting table we have more French underway, and some more Germans.  As part of this next lot of figures I will be adding the below Murat figure to my French, accompanied by two Guard Kettle Drummers! I'm looking forward to painting this command stand up :)


Saturday 29 May 2021

Bavarian Generals - 28mm Perry

Bavarian high command with Crown Prince Ludwig and Generals Wrede and Deroy, and various colonels and aides.

The Bavarian senior command wore a darker blue than the lighter blue usually associated with Bavarians.


I added some of the later command without sash, for variety of figures and perhaps that uniform may have varied for a transition period in any case.

Also useable for further raupenhelm equipped command if necessary for scenarios!